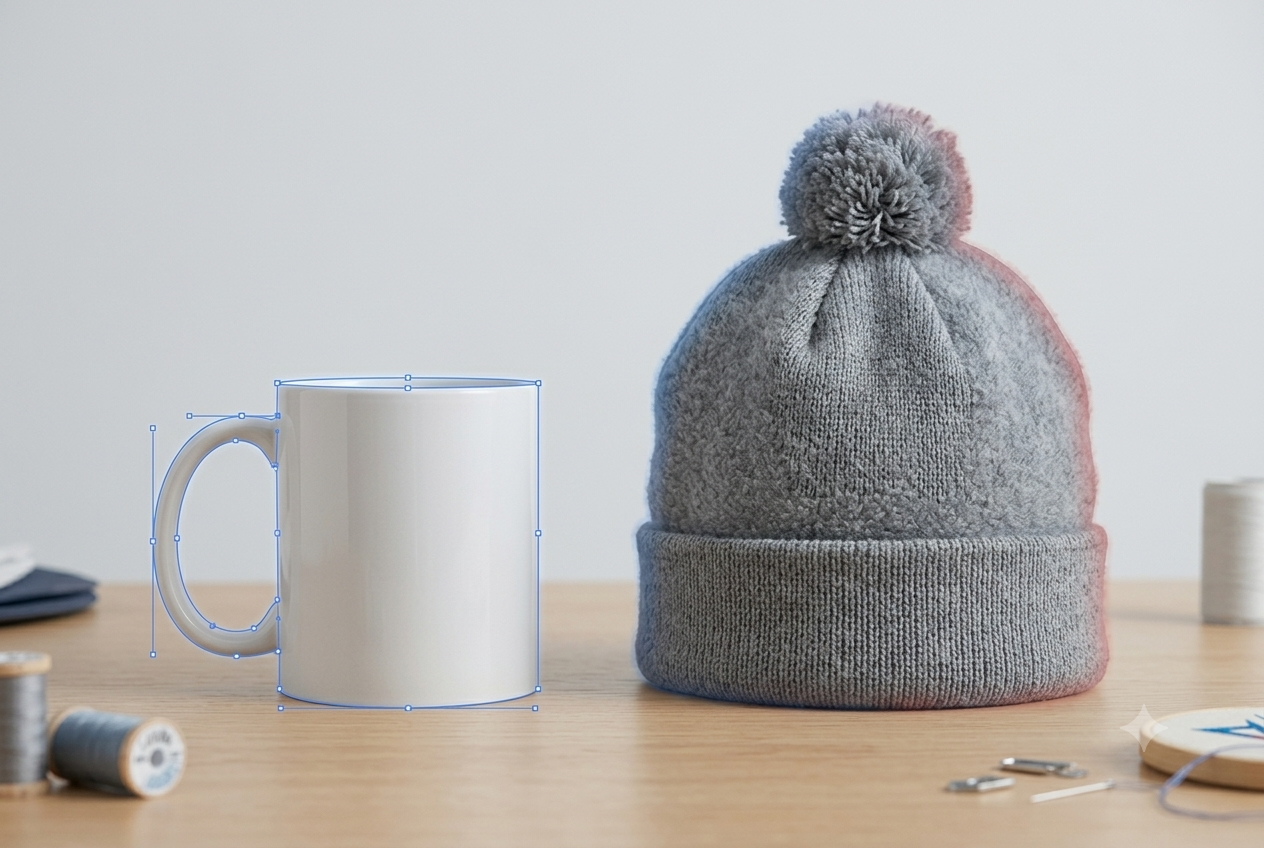
Short answer: Use a clipping path when the product has hard, well-defined edges, like a mug, a pen, or a tumbler. Use image masking when the edges are soft, fuzzy, or see-through, like fleece, a knit beanie, or a glass bottle. A path is a vector outline, so the edge stays crisp and the job moves fast. A mask works on pixels and keeps partial transparency, so it takes longer but holds detail a path would cut off.
Every product photo that ends up in a catalog, an online store, or a client mockup has to come off its original background first. Two techniques do that job, and picking the wrong one is the most common reason a cutout looks fake. A mug with a fuzzy edge looks sloppy, and a fleece jacket with a hard edge looks like a sticker.
What Is a Clipping Path?
A clipping path is a vector outline drawn around the part of an image you want to keep. Everything inside the path stays, everything outside is hidden or removed. Because the path is built from anchor points and curves instead of pixels, the edge stays sharp at any zoom level and the file barely grows.
An artist places anchor points at corners and along curves. A simple item like a pen might need a few dozen, while something with handles, cutouts, or a lanyard clip can need several hundred. That is why a clipping path service is the quick, dependable option for plain product shots.
What Is Image Masking?
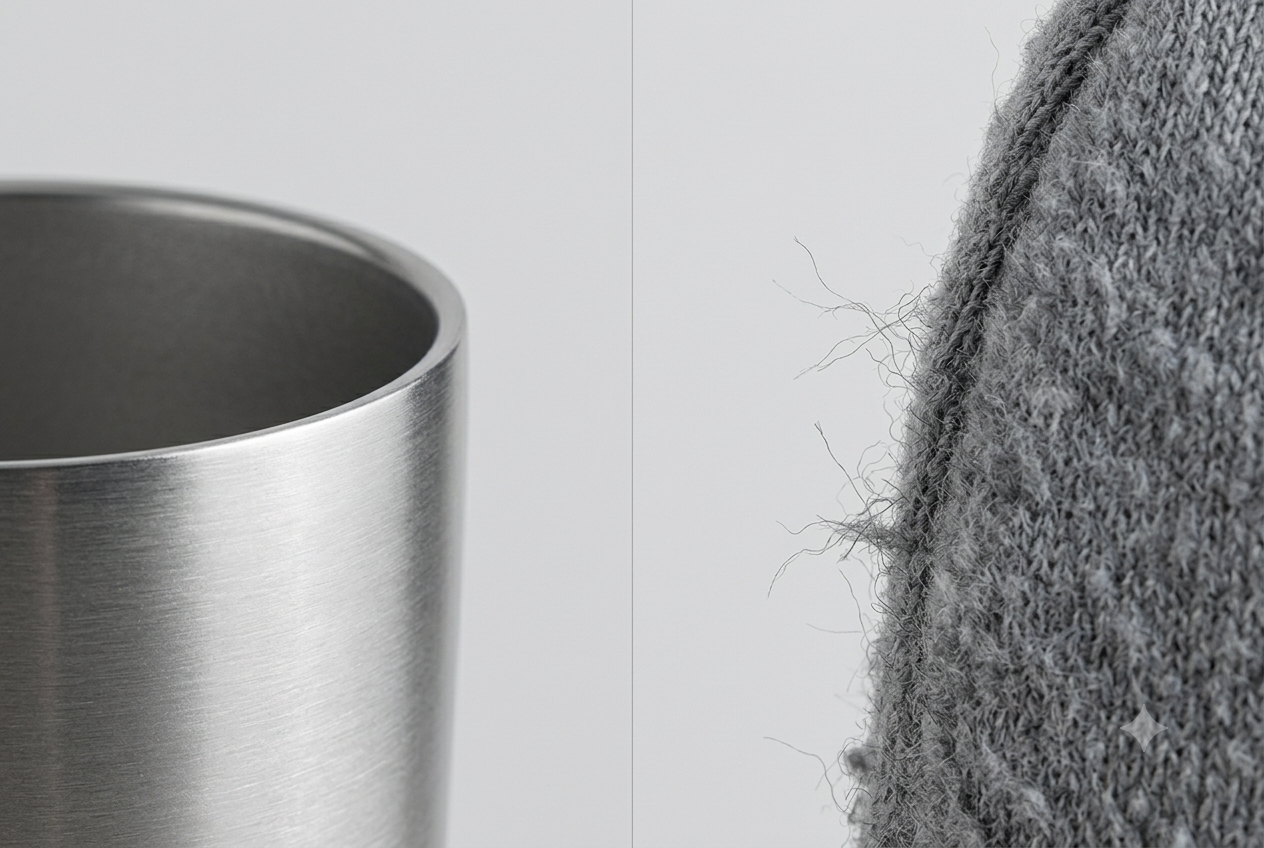
Image masking hides parts of an image without deleting them. A mask is a grayscale layer where white shows the pixel, black hides it, and every gray in between shows it partially. That partial transparency is the whole point. It keeps wispy edges like fleece fibers, pom-pom fuzz, tassels, and the see-through body of a glass bottle.
Masks take longer because the artist works with channels, edge refinement, and often hand painting along the trouble spots. You get a softer, more natural edge, and the time goes into getting it right.
How Do You Decide Between a Clipping Path and Image Masking?
Look at the edge of the product. Zoom to 200 percent. If you could trace it with one clean line, use a path. If the edge looks more like a gradient than a line, use a mask.
| Clipping path | Image masking | |
|---|---|---|
| Edge type | Hard and well defined | Soft, fuzzy, or sheer |
| Typical items | Mugs, pens, tumblers, USB drives, power banks | Fleece, knit caps, towels, tassels, glass |
| Resulting edge | Crisp vector edge | Feathered, with partial transparency |
| Speed | Faster | Slower |
| Best for | Catalogs, mockups, plain background removal | Soft goods, lifestyle shots, clear materials |
Which Promo and Apparel Items Need Which?
Hard goods are almost always path jobs: drinkware, pens, keychains, power banks, flat metal items, boxed packaging, and hard hats. Soft goods lean toward masking: fleece jackets, beanies with pom-poms, towels, mesh and sheer fabric, plus clear acrylic and glass.
Plenty of photos need both. A hoodie is a good example. The body and sleeves can take a path, but the drawstring ends and fuzzy trim need a mask. Splitting the job this way keeps the clean edges clean and saves the slower work for where it matters.
What File Format Should the Cutout Come Back In?
Match the format to where the image is going. PNG with transparency is the usual choice for web stores and virtual proofs. A layered PSD with the path or mask intact is best if anyone may need to adjust the edge later. A TIFF with an embedded path works for print layout in InDesign.
Skip JPG for cutouts. It cannot store transparency, so the background is always baked in. For anything headed to print, ask for the cutout at the source resolution, and aim for 300 ppi at final size.
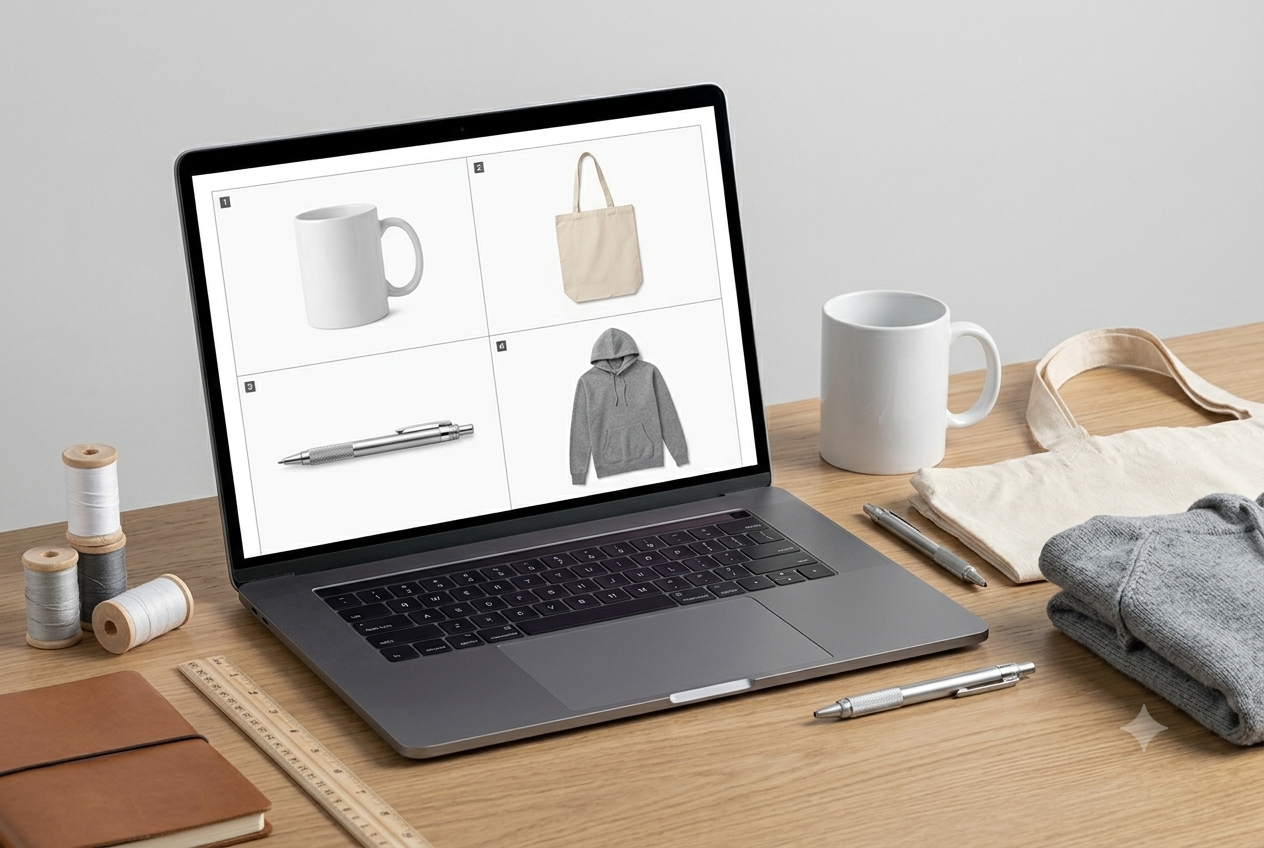
How Should You Brief an Outsourced Art Team for Cutouts?
A good brief saves a round of revisions. Include these with every batch:
- The original, highest resolution file, not a screenshot or a photo pulled from a chat thread
- Where the image will be used: web, print, or a mockup
- The background you want: transparent, white, or a specific color
- Any tricky items flagged up front, like fringe, mesh, or clear material
- Whether to keep the natural shadow or remove it
Clean cutouts also feed straight into mockups. If you are weighing how that fits your workflow, read why virtual proofs reduce order errors and speed up client approval. And if the logo on the product needs cleanup too, Vector Conversion 101 covers what to send.
FAQ: Clipping Paths and Image Masking
Is a clipping path better than image masking?
Neither is better in general. A clipping path is faster and gives a cleaner edge on hard-edged products. Image masking is the right call for fuzzy, sheer, or fine-edged items. The edge of the product decides which one you need.
Can a clipping path handle fleece, hair, or fur?
Not well. A path makes a hard edge, so fine fibers get chopped off or the item looks like a sticker pasted onto the background. Photos with soft edges need image masking.
What file format should a cutout come back in?
PNG with transparency works for web stores and mockups. A layered PSD is best if you may need to adjust the edge later. A TIFF with an embedded path suits print layouts. A JPG cannot hold transparency, so it always has a solid background.
How fast can outsourced clipping paths be turned around?
Standard turnaround is typically 12 to 24 hours, with rush options available in as little as 4 hours. That is often faster than an in-house artist who is also handling proofs, digitizing, and other tasks.
Vertex Creative Solutions handles clipping paths as part of its production art service for promotional product companies, apparel decorators, and print shops across the USA, UK, Canada, and Australia. Typical turnaround is 12 to 24 hours, with rush options in as little as 4. Send a sample photo and we will tell you what it needs.
Explore Artwork Services arrow_forward