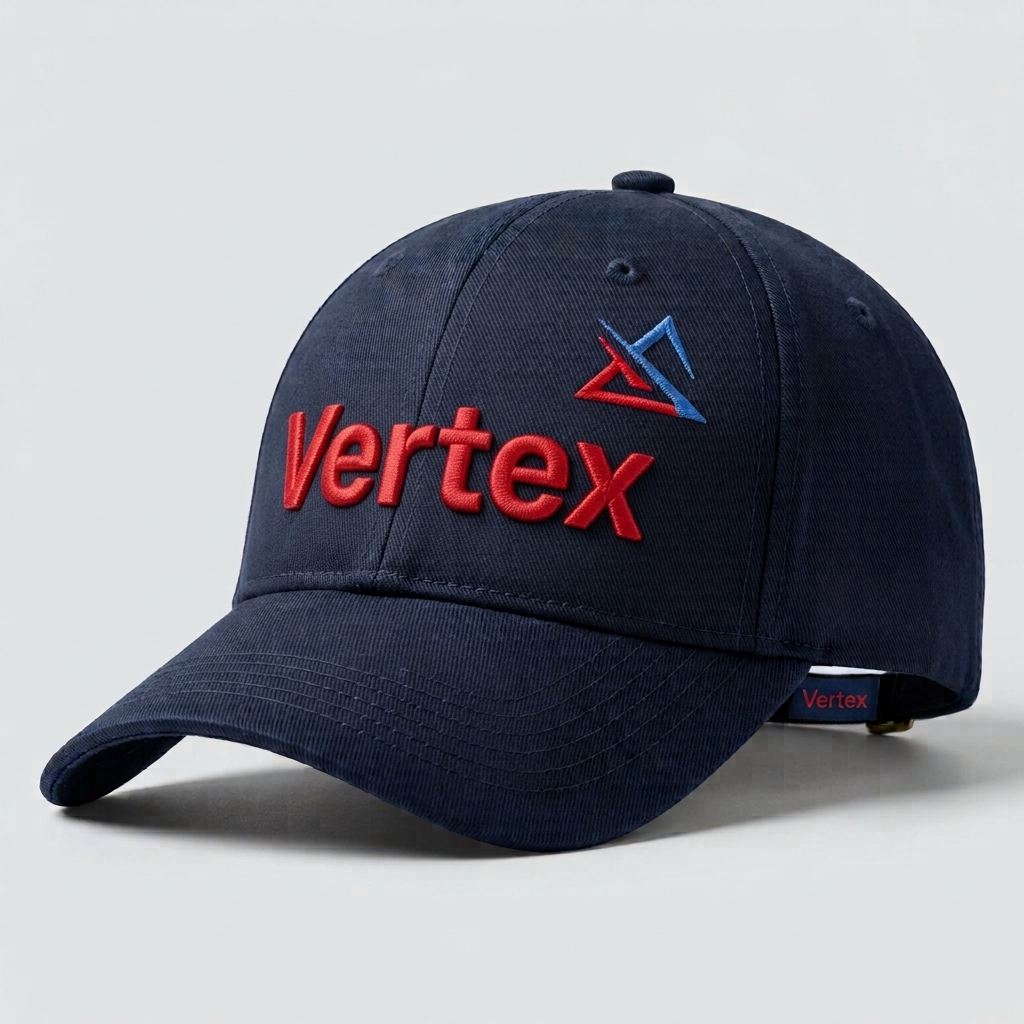
Short answer: 3D puff embroidery stitches over a layer of foam so the design stands up off the garment. It works best for bold, simple lettering and shapes on structured caps and thick fabrics, and it fails on fine detail and small text. 3D puff digitizing differs from flat embroidery because the stitches have to cover and perforate the foam, which means tighter density, a tack-down to hold the foam in place, and minimum sizes that flat embroidery does not need.
A customer asks for a raised logo on a cap, and the artwork they send has a thin script line and a tagline underneath. Puff is the right call for the main lettering and the wrong call for everything else. Knowing where that line sits is what separates a sharp puffed cap from one that gets rejected at the first sample.
What Is 3D Puff Embroidery?
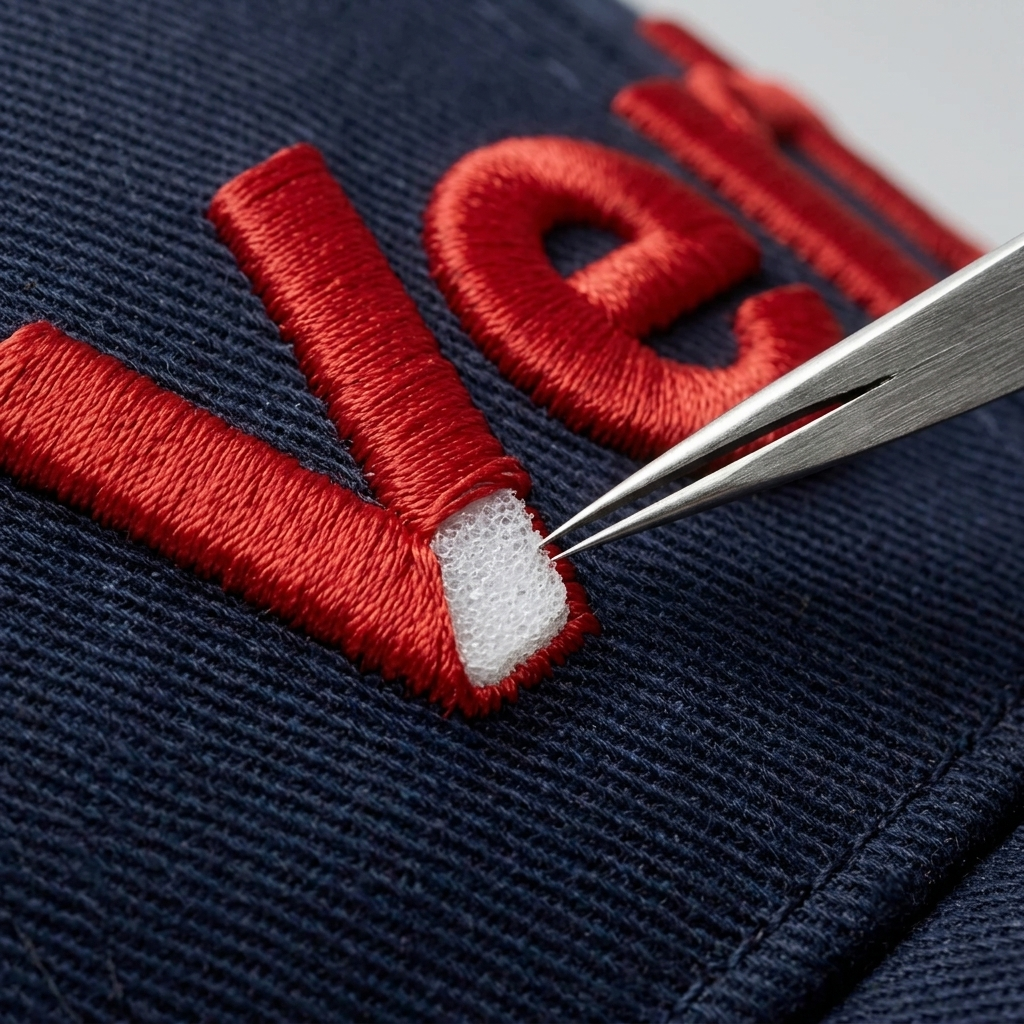
3D puff, also called raised or foam embroidery, adds a layer of foam under the stitching. Dense satin stitches run over the foam, cover it, and cut it along the edges, so the foam stays inside the lettering and can be torn away from the rest. The result is a design that stands up off the garment, often by two or three millimeters.
It is a style choice more than a technical upgrade. Puff gives bold lettering weight and shadow, which is why it dominates cap work, but it also puts real limits on what the design can contain.
When Should You Use 3D Puff?
Use it when the design is simple and the garment can support it. Structured caps are the classic fit because the front panel is firm and flat enough to hold the foam. Thick fabrics like hoodies, jackets, and heavy twill also work. Think block lettering, initials, numbers, and chunky logo shapes.
| Good fit for puff | Poor fit for puff | |
|---|---|---|
| Design | Bold lettering, initials, simple shapes | Fine detail, thin lines, small text |
| Garment | Structured caps, hoodies, jackets, heavy twill | Thin or stretchy knits, unstructured soft caps |
| Size | Medium to large elements | Tiny elements that cannot hold the foam |
| Look | Raised, dimensional, high contrast | Smooth, flat, photographic |
Most puff jobs mix techniques. The main lettering is puffed, while a small tagline or outline stays flat. That mix is usually what gets the customer the look they wanted without a design that cannot be stitched.
How Does Digitizing Change for 3D Puff?
This is where 3D puff digitizing differs from standard flat embroidery. The file has to be built around the foam, not just the thread. In practice that means:
- Tighter stitch density than a normal satin column, so the stitches cover the foam and cut it cleanly along the edges
- A tack-down, which is a light first pass that holds the foam in place before the covering stitches go over it
- Less underlay, since a normal underlay would fight the foam instead of supporting it
- Pull compensation adjusted for the foam, so the letters do not shrink inward and show gaps at the edges
- Stitch order that runs puff elements last, so later stitching does not crush the foam
- Stitch angles chosen to follow the shape, so the finished lettering looks smooth instead of ridged
The exact numbers depend on the foam thickness, the machine, and the cap. A good digitizer sets sensible defaults and expects a test sew to confirm them.
What Design Limits Matter for Puff?
Foam does not forgive small details. As a rough guide, puffed lettering should be at least about 0.25 inches (6 mm) tall, with strokes bold enough to cover the foam. Thin strokes and sharp inner corners trap foam fragments that cannot be removed cleanly.
Foam thickness changes the look. Thinner foam, around 2 mm, gives a modest raise, and thicker foam, around 3 mm, gives a bolder look that needs bigger, simpler shapes. Foam color is usually matched to the thread so slivers do not show at the edges.
Placement matters too. Cap fronts are curved, so very wide puffed designs can distort. Keeping the design in the center of the front panel gives the best result, a point covered in more depth in Left Chest vs. Full Back Digitizing.
What Are the Most Common 3D Puff Mistakes?
Puffing everything. Small text and thin lines belong in flat embroidery. Split the design into puffed and flat parts.
Using standard satin settings. Normal density and underlay produce foam that is not cut properly and edges that look fuzzy.
Skipping the sample. Foam behaves differently by cap, fabric, and machine. A test sew catches problems before a full run.
Ignoring the garment. A soft, unstructured cap or a thin knit will pucker or shift under the dense stitching, whatever the file looks like on screen.
Leaving foam fragments. Thin strokes hold foam bits that show through. Simplify the shape instead of hoping trimming will fix it.
What Should You Send for a Puff Job?
- Clean vector artwork, or the best file you have, since sloppy artwork gives a sloppy stitch file
- The garment or cap type, so the digitizer knows the surface
- The size and placement of the design
- Thread colors, and your preferred foam thickness if you have one
- Which parts of the design should be puffed and which should stay flat
If the logo is in rough shape, fix that first. Vector Conversion 101 covers what screen printers and embroiderers need to know, and a clean file is the fastest route to a clean puff sample.
FAQ: 3D Puff Embroidery
What is 3D puff embroidery?
3D puff embroidery is a technique where a layer of foam is placed under the stitching, and dense satin stitches cover and cut the foam so the design rises off the garment. It is most common on structured caps and is used for bold lettering and simple shapes.
What is the minimum letter size for 3D puff?
As a rough guide, puffed lettering should be at least about 0.25 inches (6 mm) tall, with bold strokes. Smaller or thinner lettering does not hold the foam properly and tends to look messy. The right minimum also depends on your foam thickness and machine, so a test sew is the safest check.
Can 3D puff be used on shirts and hoodies?
Yes, on thicker, stable fabrics such as hoodies, jackets, and heavy twill, as long as the design is bold and simple. Thin or stretchy fabrics are harder to puff cleanly because they shift under the dense stitching.
How fast can outsourced 3D puff digitizing be turned around?
Typical turnaround is 12 to 24 hours, with rush options available in as little as 4 hours. That is often faster than an in-house digitizer who is also handling other tasks.
Vertex Creative Solutions handles embroidery digitizing for promotional product companies, apparel decorators, and print shops across the USA, UK, Canada, and Australia. Typical turnaround is 12 to 24 hours, with rush options in as little as 4. Send your artwork with the garment and placement and we will take it from there.
Explore Embroidery Digitizing arrow_forward